Wonderful but Hellish…I was helping an intern visualize her asset in an isometric vision. But I made so many sketches that I thought a blog post could be useful for someone else. Isometry is impossible in our world. Because there is absolutely no perspective!Where not used to drawing like this because we can’t see without perspective.Hard to draw? Well, not for any long! There is a tutorial for beginners about this!

Let me introduce you your new best friend. You will hate him. Its name is basic isometric cube.
Well you see some triangles? An hexagon but not a cube?
IT’S A CUBE OK?
 This is your friend with its opposite side coloured the same colour.
Still hard to visualize isn’t it?
So let’s begin with things you already know about this dude.
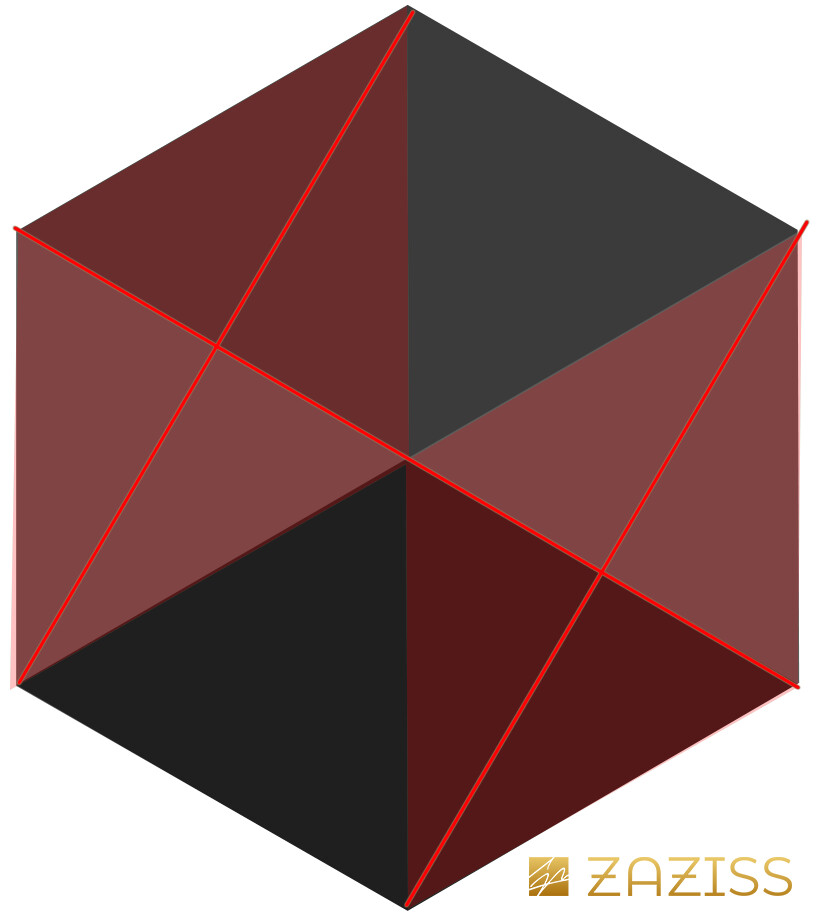
These red squares are opposite and parallel.
You can do a perpendicular line between the centre of these planes to find the centre of the cube on the X axis.
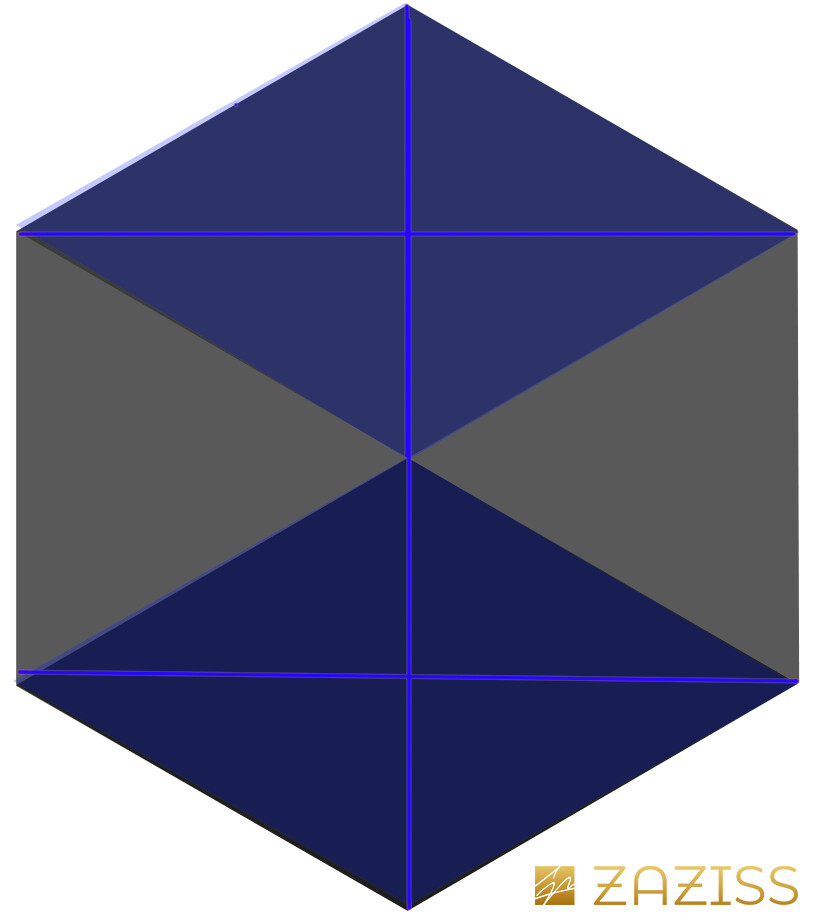
These blue squares are opposite and parallel.
You can do a perpendicular line between the centre of these planes to find the centre of the cube on the Y axis.

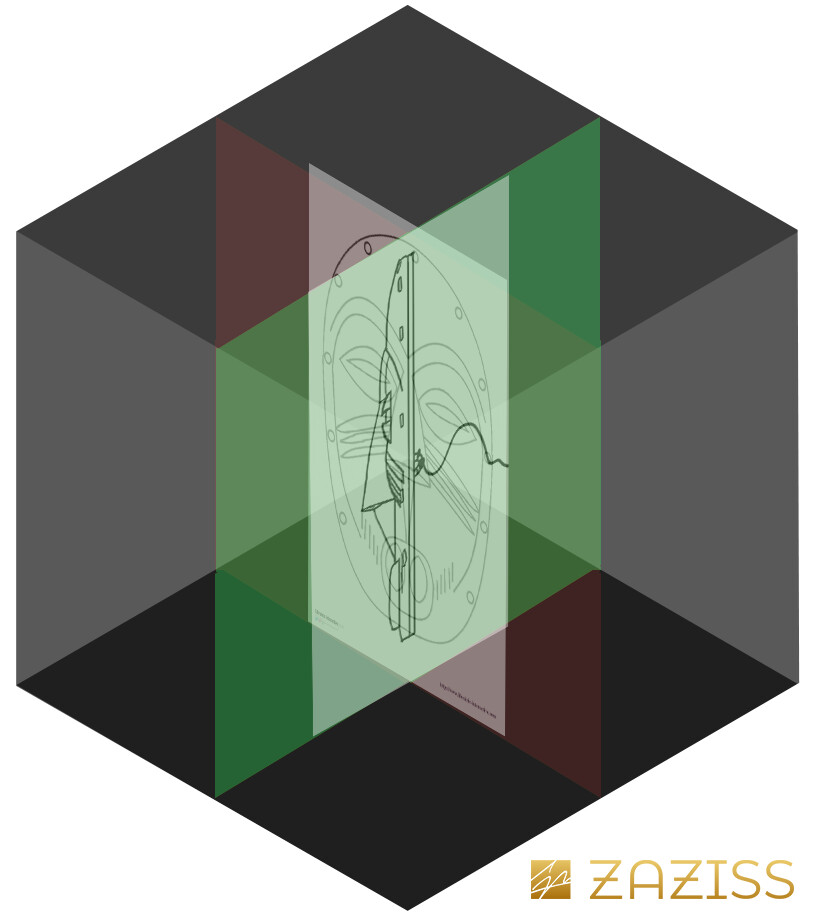
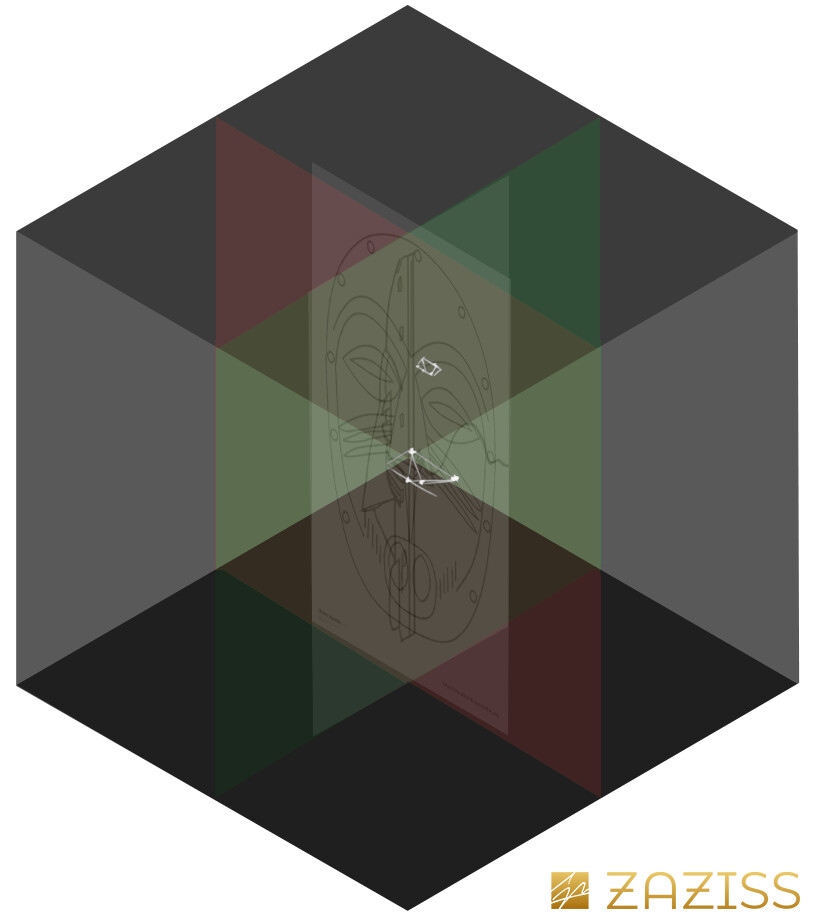
These green squares are opposite and parallel.
You can do a perpendicular line between the centre of these planes to find the centre of the cube on the Z axis
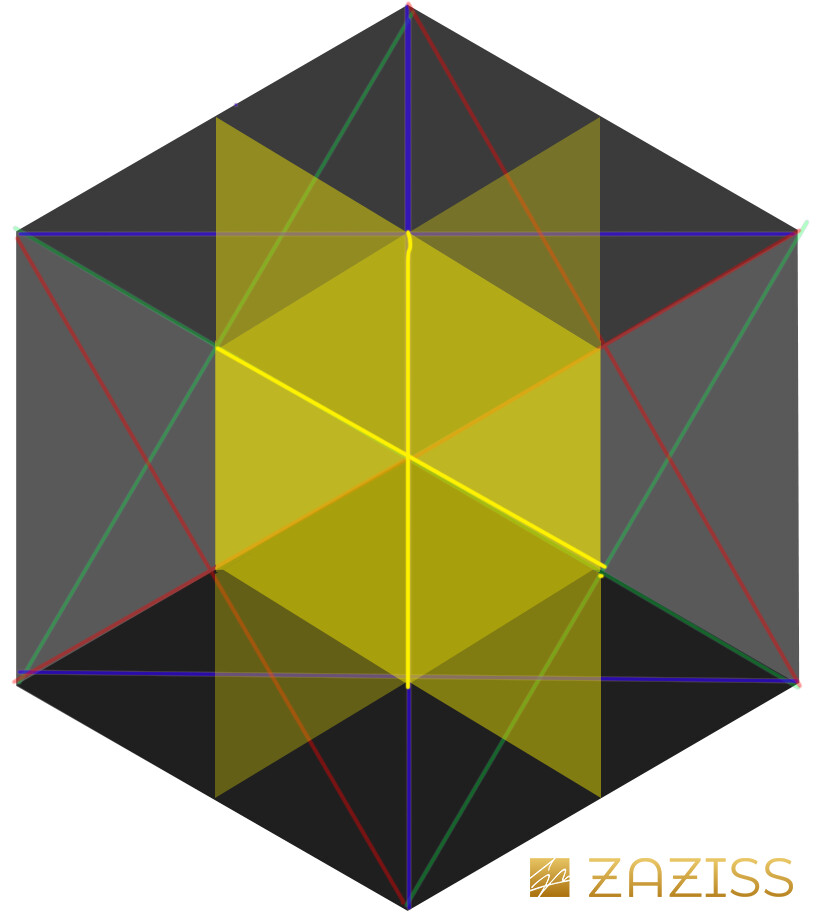
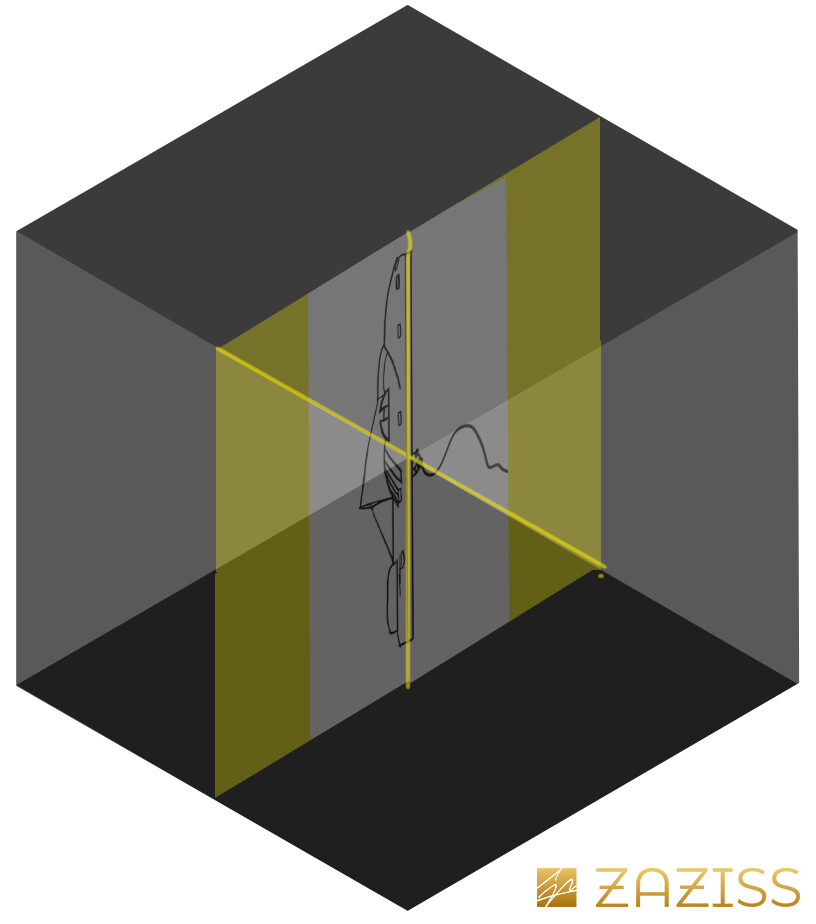
To find the exact centre lines of the cube to centre your asset, you can line all the crosses’ centers to create new planes. Here in yellow, you can see where these new planes are colliding between them.
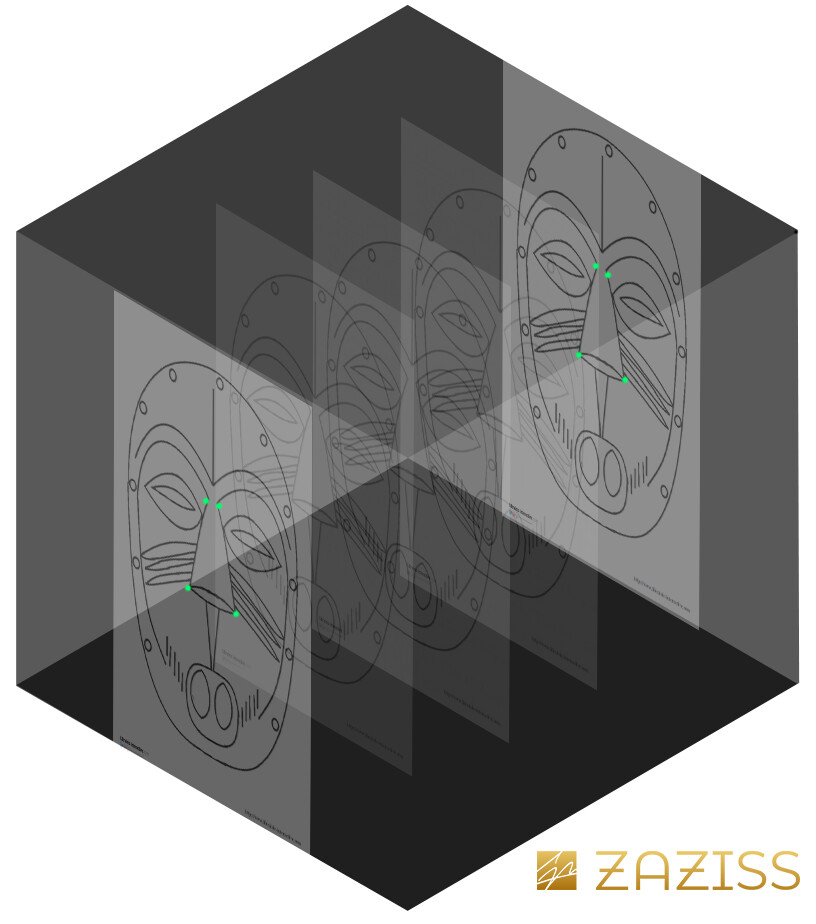
The face concept must be put on X faces of your cube.
Take some important points of your 2D concept as marks.
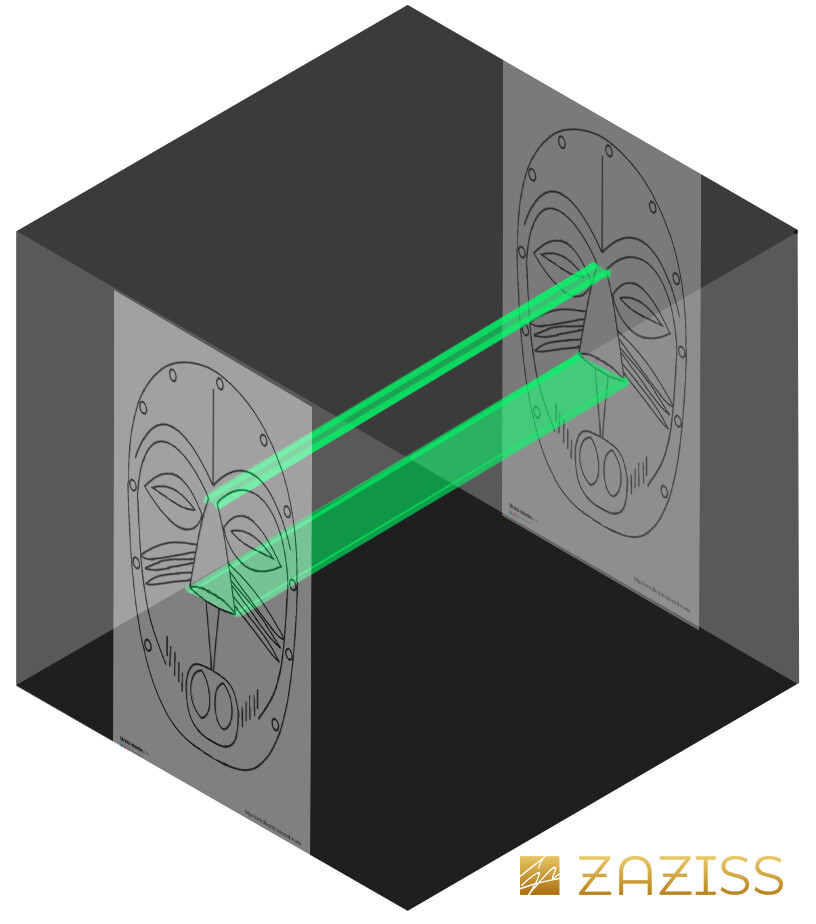
Connect the same marks to the opposite and parallel plane.
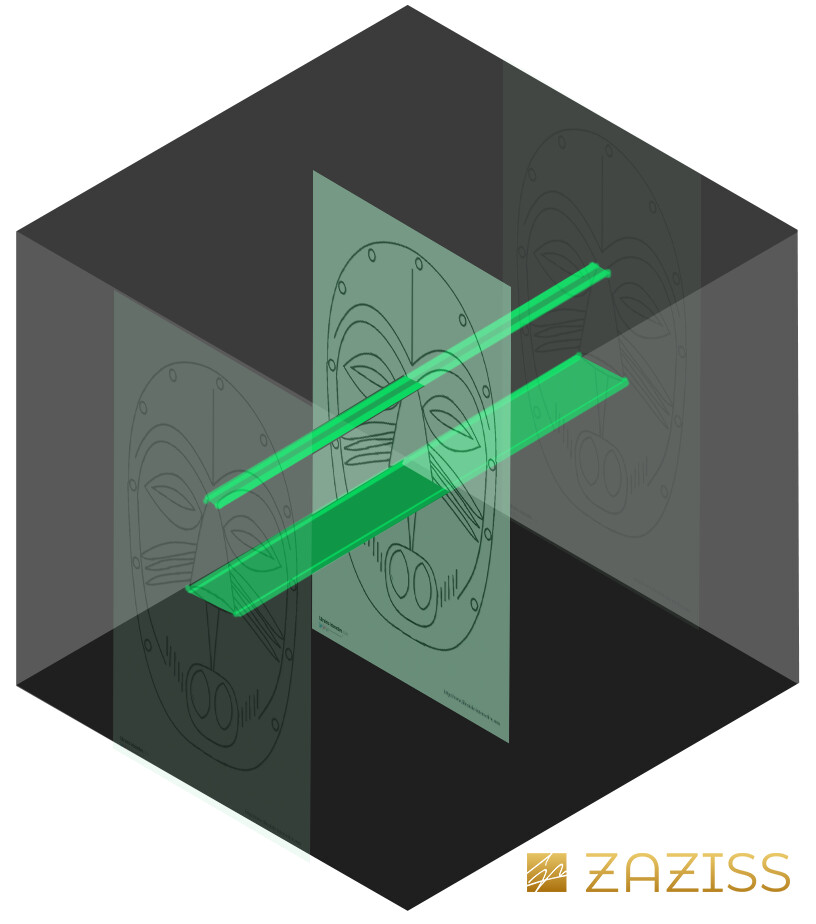
Put the 2D face concept to the X centre plane (remember, our yellow one).
Now you have your final X marks.
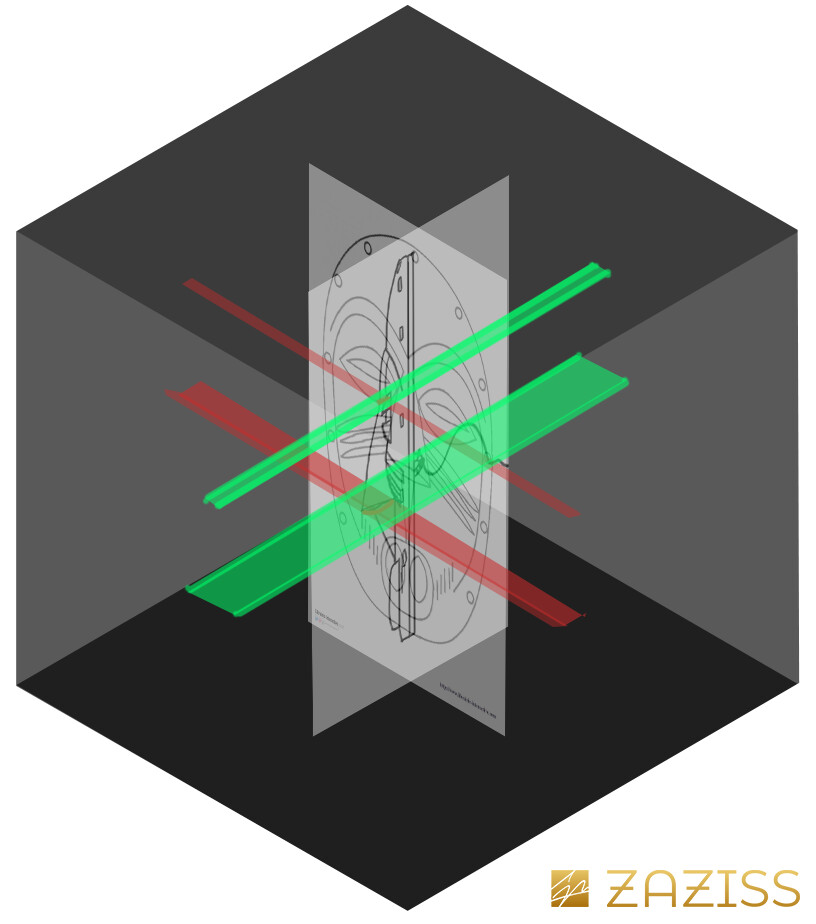
Let’s do this, the same thing but for our Y axis with a profile 2D concept.

Continue to imagine a connection between these to planes.
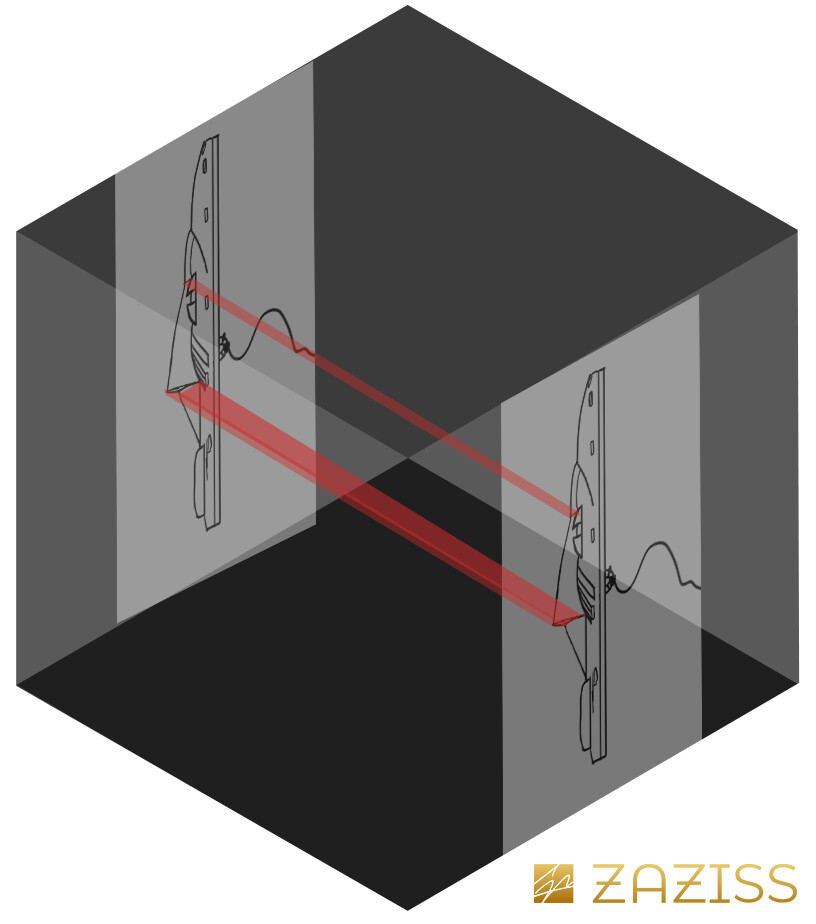
Again.
Same marks on the 2 planes. A connection…
Put your 2D profile concept on your Z centre plane (yellow one at the beginning of this tutorial)
And now you can cross your X and Z marks to find their place in the isometric cube.
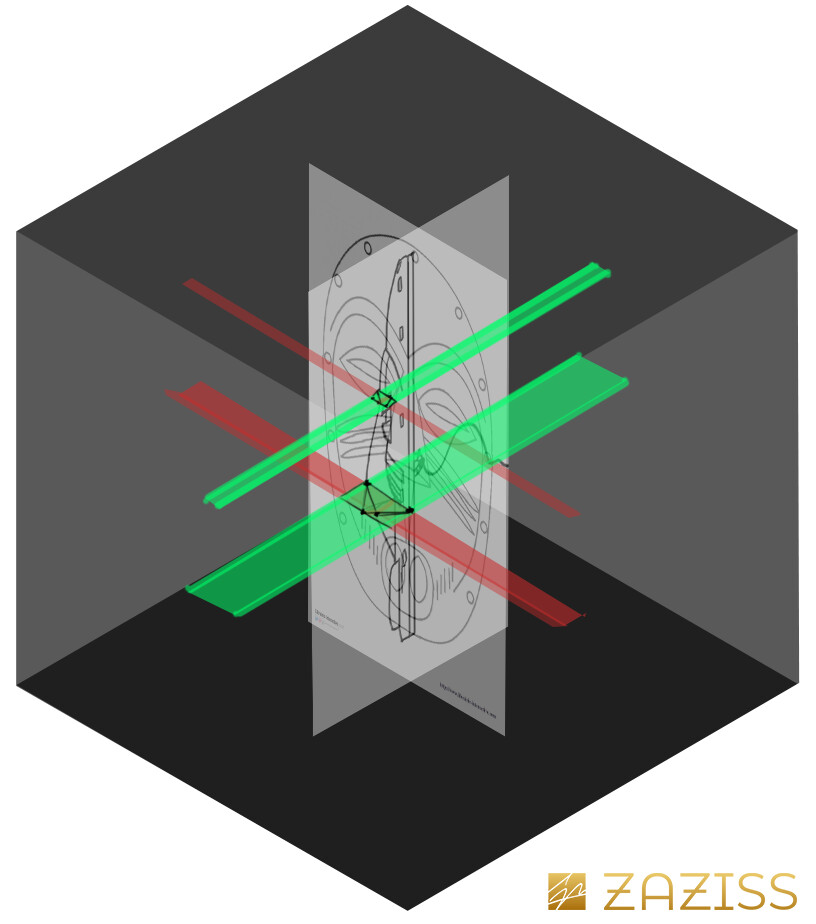
This is the moment when you are drawing!
It’s the hardest part because you have to train your eyes to switch between your 2 turn concept and the marks you just found.
This is your marks in an isometric 3D space! Well done!
This method could be used even in 3D modelling software.
Not only with X (face) and Y(profile) views but even with Z one! For this, you need to do the exact same thing, but with a 2D concept in the top view or bottom view.
In isometry, you will not need any bottom view most of the time.

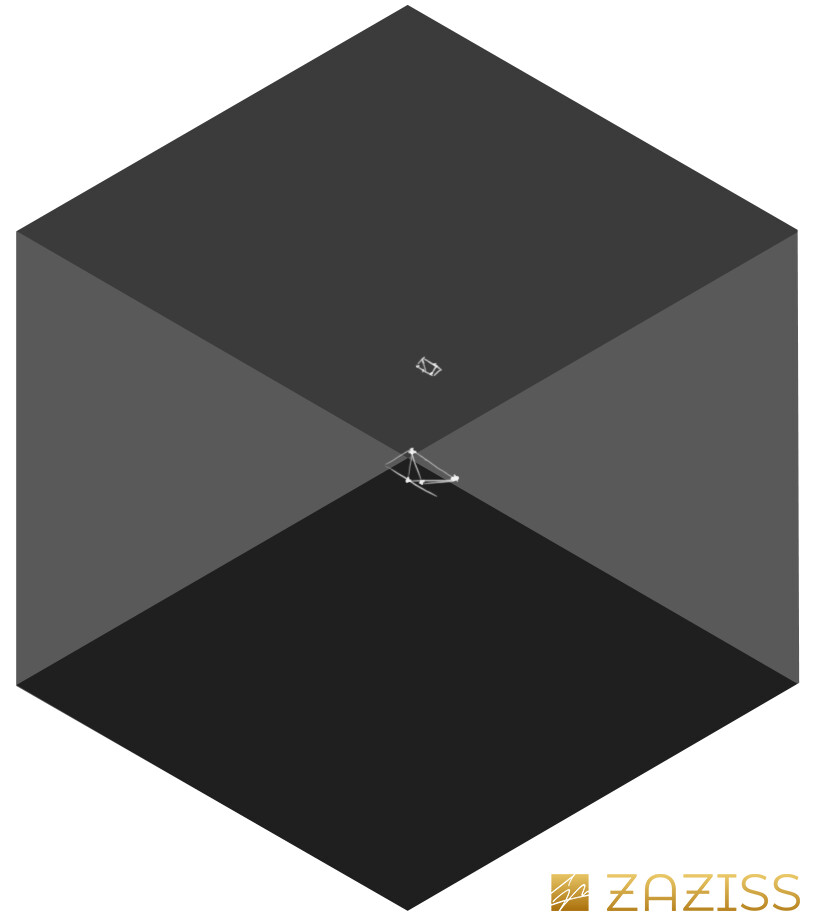
To finish, you have to link all your marks together and create the ârt you were focusing on while choosing your marks.
For me, it was the nose of this mask.
Just do this for all the parts you are struggling with. 🙂